Beginners Guide to Making Sourdough Bread
Introduction
Sourdough bread has grown in popularity, capturing the attention of passionate home bakers and casual cooks alike. Known for its distinct tangy taste and chewy texture, it is crafted using natural fermentation, which distinguishes it from other breads. This article serves as a beginner's guide to making sourdough, covering all the essential steps.
Advertisement
Understanding Sourdough and Its Benefits
Sourdough bread is made with a naturally leavened dough that uses wild yeast and bacteria from the environment. This traditional method not only imparts a unique flavor but also delivers potential health benefits. Many people find sourdough bread easier to digest, and it typically has a lower glycemic index compared to other breads.
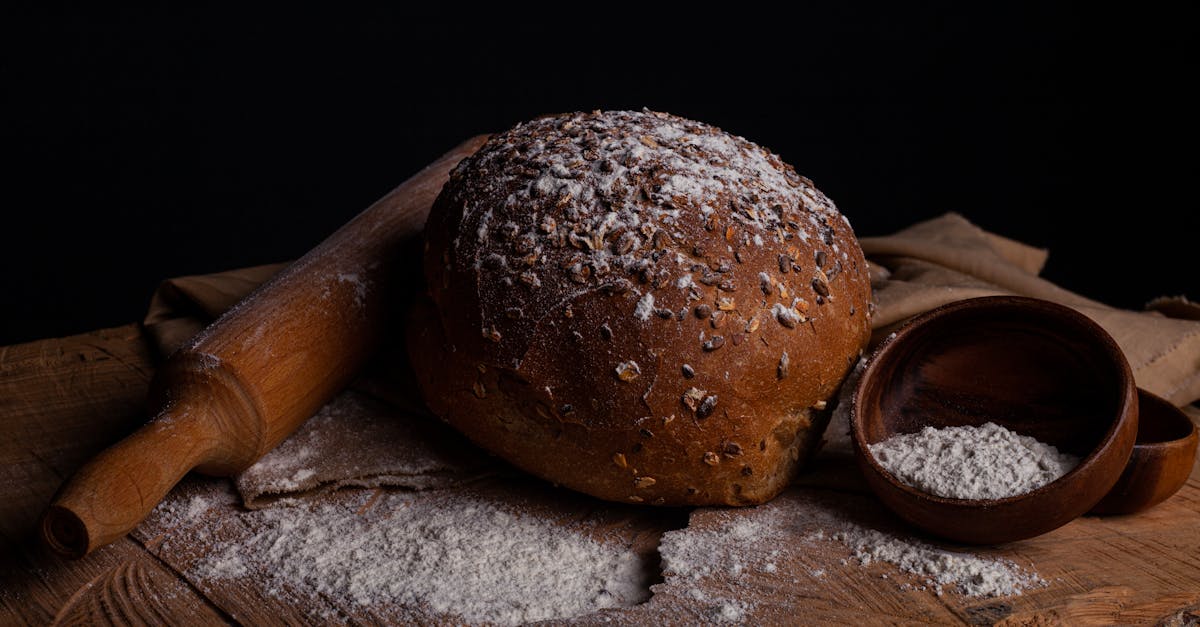
Alper Özer/Pexels
Advertisement
Getting Started with a Sourdough Starter
A sourdough starter is a living culture of flour and water housing wild yeast and bacteria. To make your own, combine equal parts water and flour in a jar. Stir and cover it lightly, leaving it to ferment for 5-7 days. Daily feeding with fresh flour and water keeps the starter active and healthy, essential for a successful sourdough bake.
Advertisement
Gathering Ingredients and Tools
For the bread itself, you'll need bread flour, salt, water, and your sourdough starter. Tools include a mixing bowl, a banneton (proofing basket), a bench scraper, and a Dutch oven or baking stone. Proper preparation ensures a smooth baking experience, emphasizing weight measurements over volume for precision.
Advertisement
Mixing the Dough and Autolyse
Combine your ingredients to form a sticky dough, then let it rest under autolyse. This resting period allows the flour to hydrate, resulting in better gluten development. After autolyse, add salt and continue kneading or using the stretch and fold method. This process strengthens the dough, necessary for a good rise.
Advertisement
Bulk Fermentation and Stretch and Fold
The bulk fermentation is a crucial phase where the dough develops flavor and structure. Over several hours, periodically stretch and fold the dough in the bowl to enhance gluten and aerate the dough. The dough should have an increased volume and a slightly domed shape by the end of this stage.
Advertisement
Shaping and Final Proof
Gently shape the dough into a round or oval loaf, carefully tucking the dough to create surface tension. Place it in a banneton for the final proof, either at room temperature for a few hours or in the refrigerator overnight. This step allows the dough to develop flavor further and achieve a desired shape.
Advertisement
Scoring and Baking the Sourdough
Preheat your oven with a Dutch oven inside. Before baking, score the dough with a sharp blade to guide its expansion. Transfer the dough onto parchment paper, then into the preheated Dutch oven. Bake covered initially to trap steam, then uncovered to achieve a perfect golden crust.
Advertisement
Cooling and Enjoying Your Bread
Once baked, let the sourdough bread cool on a wire rack for at least an hour before slicing. This waiting period allows the interior to set, preventing a gummy texture. Finally, enjoy the fruit of your labor with your favorite toppings or simply savoring the sourdough's rich and tangy flavor on its own.
Advertisement
Conclusion
Embarking on the journey of sourdough baking can be immensely satisfying, offering both taste and health benefits. With patience and practice, you'll master the art of creating artisanal bread at home. Whether enjoyed alone or shared with loved ones, sourdough bread is a testament to simplicity, tradition, and culinary creativity.
Advertisement